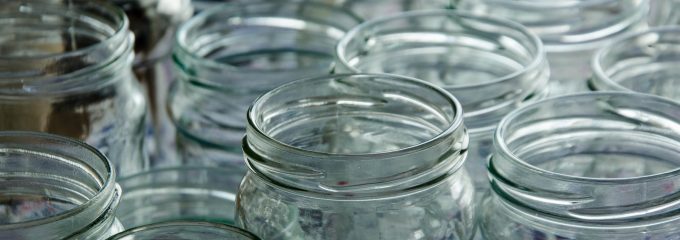
How to make your own snow globes out of mason jars

Is there anything more magical than a snow globe? With a few twists of your wrist, you can put a serene setting under blizzard-like conditions. Watching the “snowflakes” swirl around rapidly and then fall calmly to the bottom is something that never gets old. But have you ever wanted to create your own snow globe? You can, using a mason jar, some free time, and a few other basic supplies! Here’s how.
Assemble your supplies. You don’t need a special kit for these globes; a simple mason jar will do. You will also need waterproof craft glue or epoxy. This holds literally everything together, so don’t skimp on the quality or amount of your glue! To fill your snow globe, you’ll need water, glycerin, and glitter, along with waterproof toys or figurines to create your theme. You may also want to buy some clear sealer in order to preserve the color of the items that make up your setting.
Plan your scene. Once you have assembled your supplies, it’s time to tap into your creative side. While you’re applying the sealer to your toys or figurines, brainstorm a little: What kind of scene would you like to create? To ensure your vision is executed well, try sketching a basic idea of how you would like your snow globe to look. Use the inside of the lid as the bottom of your setting and place your figurines or toys as you sketched them. Adjust their positions until you achieve the desired look.
Put it on lock. Time for the glue! Carefully remove the pieces of your setting one at a time and apply the glue or epoxy. Be very careful, as this stuff can make a mess that’s very hard to clean up. You may even want to go so far as to mark out the positions where you’ll place each piece of your setting in order to ensure everything ends up in its proper place. This is likely the most crucial part of the project, so take your time to get it right.
Play the waiting game. Once the glue is applied, it’s time to stop. Let the setting thoroughly dry onto the lid before moving to the next step. This may take 24 hours. After that time passes, check back to see how sturdy the setting looks. If you think it needs more glue, judiciously apply more in the areas that require it. Repeat the waiting process until you are absolutely sure the setting is, well, all set.
Fill it up. With the setting now adhered to the inside of the lid, it is time to assemble your globe. Fill the mason jar part of the way, mostly with water and a little bit of glycerin. Then add the glitter. These proportions are up to you, but you should note that the balance between these three ingredients determines how your “snowflakes” will fall. More glycerin will make the glitter float around more. Then, apply a ring of glue or epoxy to the inside ring of the lid, and twist the lid onto the jar, securing it tightly. Once the lid and the jar are together, glue the outside edge between the lid and the jar so that your globe is watertight. Wait until the glue is fully dried, and then start shaking!
How to make a snow globe out of a mason jar [Mashable]
How to Make Glitter Snow Globes From Mason Jars [diy network]
Mason Jar Snow Globe Tutorial [Julie Ann ART]